
If you are anything like me, you see a sponge that looks a little dingy and think a long soak will magically reset it. I did that with straight vinegar, and my once-bouncy sponge came out smelling sharp and feeling oddly tight, like it had lost its softness. Now I treat vinegar like a quick helper, not the main event: diluted, brief, then a real soap wash and a thorough rinse to get it truly clean.
If your makeup sponge looks stained, feels greasy, or smells a little “off,” it is overdue for a real clean. Vinegar is a budget-friendly way to loosen product buildup and help with odors, but it needs the right dilution and a soap wash afterward to fully remove residue.
Why vinegar helps (and what it cannot do)
White distilled vinegar is mildly acidic. That acidity helps break down mineral deposits from hard water and can loosen oily residue and makeup film so it rinses out more easily.
What vinegar is good at
- Deodorizing a sponge that smells musty or sour.
- Loosening buildup so your cleanser can work faster.
- Helping with hard-water issues that make sponges feel stiff or “coated.”
What vinegar is not
- Not a complete disinfectant for all bacteria, yeast, and viruses. It is helpful, but not medical-grade sanitizing.
- Not a replacement for soap. Vinegar can loosen grime, but a surfactant (cleanser) is what lifts and carries away oily foundation and concealer.
- Not meant for long soaks. Extended soaking can weaken some sponge materials and adhesives.
Safety note you should not skip
- Never mix vinegar with bleach. That can create dangerous fumes.
- Do not mix vinegar with hydrogen peroxide in the same container. (They can form irritating compounds.) If you use both methods, rinse thoroughly between them and keep them separate.
- Skip vinegar if your sponge has active cuts that trap product inside. At that point, replacement is usually the better call.
What you need (simple checklist)
- White distilled vinegar
- Warm water (not hot enough to steam)
- A small bowl or mug
- Gentle cleanser: dish soap, baby shampoo, or a dedicated sponge cleanser
- A clean towel or paper towels
- Optional: a soft toothbrush (for stippling the surface only, not scraping)
Choose your method: quick refresh vs deep clean
The “best” vinegar method depends on how much product is inside the sponge. Use this table to pick a realistic approach.
| Situation | Best vinegar approach | How long it takes | Best for |
|---|---|---|---|
| Used once, light makeup | Vinegar rinse plus soap wash (no soak) | 2 to 4 minutes | Daily or every-other-day maintenance |
| Visible stains, feels slippery, heavy foundation use | Diluted vinegar soak, then soap wash | 10 to 15 minutes | Weekly deep clean |
| Musty smell, stored damp, “old makeup” odor | Short vinegar soak (odor reset), then soap wash | 8 to 12 minutes | Deodorizing without harsh chemicals |
| Sponge tearing, never rinses clear, makeup applies patchy | Replace | 5 minutes to shop | Skin health and better application |
Step-by-step: deep clean makeup sponges with vinegar
This is the method I recommend when a sponge has that “I can squeeze and foundation keeps coming out” problem. It is thorough without being harsh.
1) Pre-rinse to remove surface makeup
- Run the sponge under warm water until it expands fully.
- Squeeze and release repeatedly to push out loose product.
- Keep rinsing until the water is no longer heavily tinted.
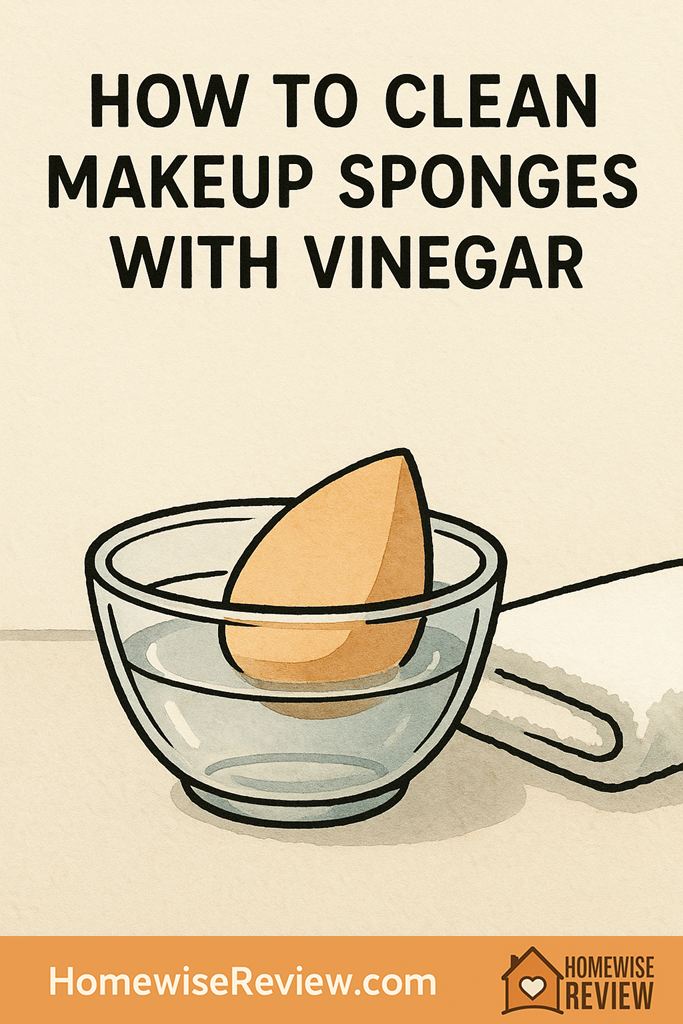
2) Mix a safe vinegar dilution
- In a bowl, mix 1 part white distilled vinegar with 3 parts warm water.
- If your sponge is very oily or very smelly, you can use 1 part vinegar to 2 parts water, but avoid stronger than that.
3) Soak briefly (do not overdo it)
- Submerge the sponge and gently squeeze it once or twice under the surface so the diluted vinegar moves through the center.
- Soak 5 to 8 minutes for normal deep cleaning.
- Soak 3 to 5 minutes if you are worried about a delicate sponge or frequent cleaning.
4) Wash with soap to remove the loosened oils
- Remove the sponge and rinse quickly under warm water.
- Add a small drop of cleanser to the sponge (or to your palm).
- Work it in by squeezing and massaging, focusing on stained areas.
- Rinse and repeat until the water runs clear and the sponge feels “grippy” rather than slick.
5) Final rinse and a quick towel press
- Rinse thoroughly until there is no vinegar smell and no soap suds.
- Wrap the sponge in a clean towel and press gently to remove excess water. Do not wring or twist.
6) Dry correctly (this is where most people go wrong)
- Set the sponge in an open, airy spot (a wire rack or a sponge stand works well).
- Do not put it back into a makeup bag or closed drawer while damp.
- Let it dry fully before the next use, typically 12 to 24 hours depending on airflow and humidity.
Quick “no soak” vinegar refresh (for frequent cleaning)
If your sponge is not too dirty, skipping the soak reduces wear and tear while still helping remove film.
- Wet the sponge with warm water and squeeze out excess.
- Sprinkle a few drops of vinegar into your palm (or a small cup) and rub the sponge gently over it.
- Immediately follow with soap, then rinse until clear.
How often to clean (and when to replace)
Cleaning frequency matters as much as the method. A sponge that stays damp or goes weeks without washing is more likely to smell and irritate skin.
| Routine | Recommended cleaning | Replacement target | Notes |
|---|---|---|---|
| Daily makeup wearer | Quick wash after each use, deep clean weekly | Every 1 to 3 months | Replace sooner if you get breakouts or the sponge stays stained and smells. |
| 2 to 3 times per week | Wash after use, deep clean every 2 weeks | Every 3 months | Store dry and open between uses. |
| Occasional use | Wash after each use before storing | Every 3 to 6 months | Do not store “used but dry.” Old product still feeds odor over time. |
Replace immediately if you notice
- Cracks, tears, or pieces flaking off
- A persistent sour odor after washing and drying
- The sponge no longer expands well when wet
- Makeup starts applying patchy (often a sign of uneven texture and trapped residue)
Common mistakes that make sponges worse
- Using straight vinegar: it is unnecessary and can degrade the sponge faster. Dilution does the job.
- Soaking too long: long soaks can weaken material and leave a lingering smell that is hard to rinse out.
- Not washing after vinegar: vinegar loosens grime, but cleanser removes it.
- Hot water or boiling: high heat can warp the sponge and break down elasticity.
- Sealing it up damp: this is the fastest path to mildew odor.
Troubleshooting: stains, smells, and “why is it still dirty?”
If the water never runs clear
- Do a second soap wash cycle before reaching for stronger methods.
- Try a smaller amount of soap and more rinse time. Too much soap can make it feel like residue is still coming out.
- Focus on squeezing from the center outward to push product out of the core.
If stains remain but the sponge is clean
- Some foundations stain foam even when the oils and bacteria are gone.
- Use the smell and the feel as your guide. Clean sponges feel soft but not slick, and they should not smell musty.
If it still smells sour after cleaning
- It may not be fully dry. Give it another 12 hours in a well-ventilated area.
- Next time, shorten the soak and increase rinse time. Vinegar left inside the sponge can mimic a “dirty” smell.
- If the odor persists after full drying, replace the sponge. Odor can mean deep contamination you cannot realistically undo.
If your skin is breaking out
- Clean after every use for two weeks and track whether your skin calms down.
- Do not share sponges.
- Consider switching to applying with clean brushes or freshly washed hands for a short reset period.
Bottom Line
To clean makeup sponges with vinegar, keep it diluted (about 1:3 vinegar to warm water), soak briefly, and always follow with a real soap wash and thorough rinse. Drying fully in open air is just as important as the washing step. If a sponge stays smelly, torn, or never rinses clean, replacing it is the most skin-friendly option.
See also
If you are aiming for gentler routines overall, start with our guide to non-toxic cleaners that actually work for families, and pair it with these housekeeping shortcuts that protect skin and allergies.
- Stain rescue decision tree (quick steps when something is set in)
- Method all-purpose cleaner review (where it shines and where it does not)
- Scrub Daddy sponge review (a good scrubber for sinks and cleanup)
Frequently Asked Questions ▾
Can I leave my makeup sponge soaking in vinegar overnight?
I would not. Overnight soaking can break down the sponge material and make the smell harder to rinse out. Keep vinegar soaks short, usually 3 to 8 minutes, then wash with soap and rinse thoroughly.
Should I use white vinegar or apple cider vinegar?
Use white distilled vinegar. It is clear, less likely to discolor the sponge, and the scent rinses out more cleanly than apple cider vinegar.
Do I need soap if I use vinegar?
Yes. Vinegar can help loosen residue and reduce odor, but soap is what lifts oily foundation and concealer out of the foam so it can rinse away.
Why does my sponge still smell after I cleaned it?
The two most common reasons are trapped moisture (it is not fully dry) or the sponge is past its lifespan. Let it dry 12 to 24 hours in open air; if it still smells, replacement is usually the safest choice.
How do I dry makeup sponges faster without damaging them?
Press gently in a clean towel to remove excess water, then set the sponge in a breathable spot with airflow. Avoid enclosed bags, drawers, and high heat, which can damage the foam.
As an Amazon Associate, we earn from qualifying purchases made through links on our site.