
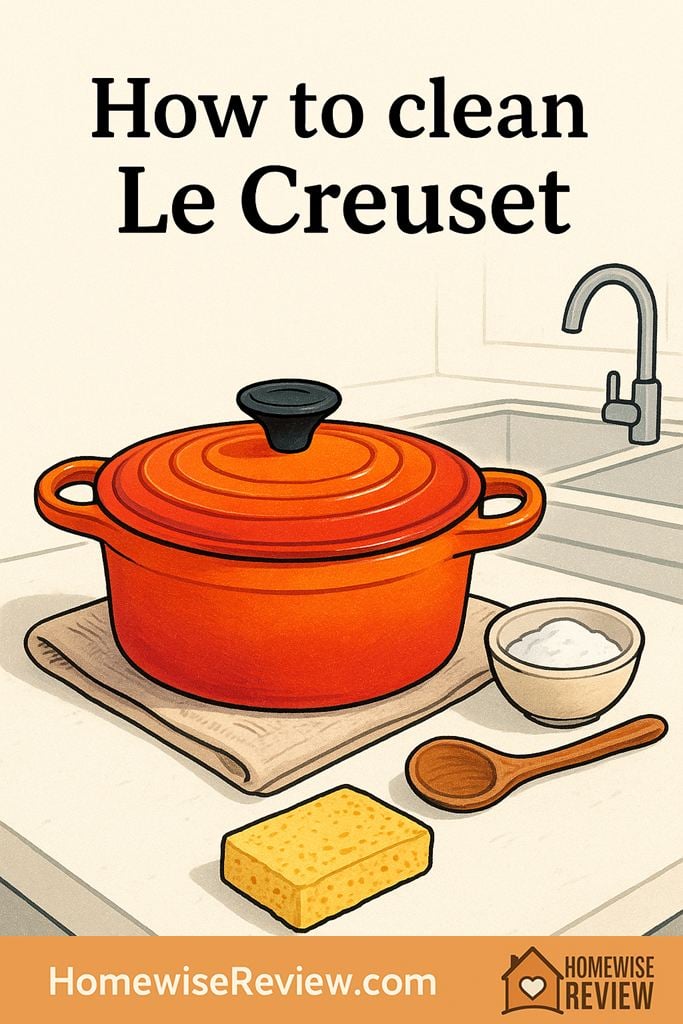
Want your Le Creuset to look beautiful for years, not cloudy, stained, or scratched? These enamel-safe steps handle everyday messes, burnt-on bits, and stubborn discoloration without harsh damage.
Le Creuset is made to last, but the enamel finish can get cloudy, stained, or grimy if you use the wrong tools or rush the clean up. The good news is most “ruined” looking pots just need the right method and a little patience.
Below is a simple, safe system for everyday washing, burnt-on food, and the most common stains, plus what to avoid so you do not dull the shine or chip the enamel.
What Le Creuset Finish You Have (And Why It Matters)
Le Creuset makes a few different surfaces, and the best cleaner depends on what you are actually scrubbing. If you are unsure, look at the cooking surface inside the pot and the base.
| Le Creuset type | What it looks like | Best daily cleaning | What to be careful with |
|---|---|---|---|
| Enameled cast iron (most Dutch ovens) | Glossy, light interior or matte black “satin” interior | Dish soap + warm water + non-scratch sponge | Abrasives, metal scrubbers, sudden cold water on hot pot |
| Stoneware (bakers, mugs) | Glazed ceramic, often cream or colored | Soak + gentle sponge | Chipping edges, baking-on grease at high heat |
| Stainless steel (some cookware lines) | Silver steel, may show rainbow discoloration | Soap + sponge; polish as needed | Chloride bleach, scratching from harsh pads |
| Nonstick (if you have it) | Dark coated surface | Soap + soft sponge | Abrasives, overheating, harsh powders |
What to Avoid (So You Do Not Scratch, Cloud, or Chip)
- Thermal shock: do not rinse a hot pot with cold water. Let it cool until warm to the touch first.
- Metal scrubbers and steel wool: they can scratch enamel and leave tiny metal bits that rust.
- Harsh abrasives: gritty powders can dull the shine over time, even if they “work” once.
- Oven cleaner or lye-based sprays: too aggressive for enamel finishes.
- Long soaks with very strong chemicals: if you choose a stronger approach, keep the contact time short and rinse thoroughly.
- Dishwasher as your default: many pieces are technically dishwasher safe, but repeated cycles can dull enamel and age the rim faster.
Everyday Cleaning: A Simple 5-Minute Routine
This routine keeps you out of the “deep clean” zone most of the time. It is also the safest approach for the enamel long-term.
Step-by-step
- Cool first: let the pot cool until it is warm, not piping hot.
- Rinse out crumbs: a quick rinse prevents grit from becoming sandpaper while you scrub.
- Wash with warm, soapy water: use a non-scratch sponge or soft brush and work in circles.
- Use a wooden or silicone spatula for stuck spots: scrape gently instead of reaching for something abrasive.
- Rinse well: leftover soap can leave a dull film, especially in hard water.
- Dry completely: towel dry, especially the rim and lid edge, to prevent rust specks on exposed cast iron edges.
Do not forget the lid and knob
- Knob: wash around the base where grease collects. Dry it well.
- Lid edge: wipe the inner rim where condensation drips and bakes on.
How to Remove Stuck-On Food and Burnt Bits
If you have stuck-on food, the goal is to soften it first. Scrubbing hard is what causes dull enamel and frustration.
Method 1: Soak and lift (best first try)
- Fill the pot with warm water and a few drops of dish soap.
- Let it soak for 15 to 30 minutes.
- Use a non-scratch sponge or nylon brush to lift the softened food.
- If needed, use a nylon scraper or wooden spoon edge for gentle leverage.
Method 2: Baking soda simmer (best for burnt-on rings)
- Add enough water to cover the burnt area.
- Add 2 to 3 tablespoons baking soda per quart of water.
- Bring to a gentle simmer for 8 to 10 minutes.
- Turn off heat and let it cool until warm.
- Pour out the water, then wash normally with soap and a non-scratch sponge.
Method 3: Deglaze while warm (prevents a hard scrub later)
- After cooking, remove food and keep the pot on low heat.
- Add a splash of warm water (or broth) and scrape gently with a wooden spoon.
- Once the fond lifts, rinse and wash as usual.
Which method should you use?
| Problem | Best method | Time | Notes |
|---|---|---|---|
| Normal stuck bits after dinner | Soak and lift | 15 to 30 min | Least wear on enamel. Try this first. |
| Burnt-on ring on bottom | Baking soda simmer | 15 to 25 min total | Softens carbonized food so you do not need force. |
| Fond stuck but not burned | Deglaze while warm | 2 to 5 min | Prevention method. Saves the most time later. |
How to Remove Stains and Discoloration (Without Harsh Scratches)
Some discoloration is normal, especially on light interiors. Most stains come from polymerized oils (a thin baked-on layer) or from strongly pigmented foods like tomato, curry, or tea.
Option A: Baking soda paste (safe, simple, effective)
- Make a paste: 2 parts baking soda to 1 part water.
- Spread it over stains and let it sit for 10 to 20 minutes.
- Rub gently with a non-scratch sponge, then rinse and wash with soap.
- Repeat once if needed. Two gentle rounds beat one aggressive scrub.
Option B: Baking soda and simmer (for widespread interior staining)
- Fill with water to cover the stained area.
- Add 1 to 2 tablespoons baking soda per quart.
- Simmer 8 to 10 minutes, cool, then wash normally.
Option C: Hydrogen peroxide spot treatment (for stubborn light-interior stains)
- Only do this on fully cooled cookware.
- Pour a small amount of 3% hydrogen peroxide on a cloth or sponge and apply to the stained area.
- Let it sit 5 to 10 minutes, then rinse very well and wash with dish soap.
- Do not mix peroxide with vinegar or bleach.
Option D: Mineral film and cloudy buildup (hard water)
- Wipe with a solution of equal parts white vinegar and water on a soft cloth.
- Rinse and dry thoroughly.
- If the cloudiness is actually fine scratches or dull enamel, cleaning will not fully restore the original gloss, but it can look much better once residue is removed.
Grease on the Outside and Grimy Handles
The outside usually looks “dirty” from a thin layer of cooked-on oil, especially near the handles and base. The key is to soften it, then gently lift it.
Exterior grease removal steps
- Wash with hot, soapy water first and dry so you can see what remains.
- Apply a baking soda paste to greasy areas and let it sit 10 to 15 minutes.
- Scrub gently with a non-scratch sponge or a soft brush, then rinse and dry.
- For tight areas around handles, use an old soft toothbrush.
Quick tip for busy weeks
If I know I will not have time for a deep clean, I at least wash the rim and handle bases well. That is where buildup starts, and it is much easier to keep up than to remove later.
Dishwasher, Oven, and Storage Tips That Keep It Looking New
Cleaning is only half the battle. These habits prevent the most common damage and discoloration.
Dishwasher use (when it makes sense)
- Best practice: hand wash most of the time to protect the finish.
- If you do use the dishwasher: avoid overcrowding, skip high-heat drying if you can, and make sure no metal racks or utensils rub the enamel.
- Always dry the rim after: towel dry exposed cast iron edges.
Cooking habits that reduce stains
- Use medium heat for most cooking. High heat can bake on oils faster.
- Let the pan preheat gradually instead of blasting it.
- Use enough fat or liquid for the cooking method to prevent sticking and scorching.
Storage to prevent chips
- Do not stack bare enamel on enamel. Place a towel, felt pan protector, or paper towel between pieces.
- Store with the lid slightly ajar if possible to prevent trapped moisture odors.
- Check the rim occasionally. Tiny rust specks usually wipe off if caught early.
Troubleshooting: A Quick Decision Checklist
- Food stuck on? Soak 15 to 30 minutes. If still stuck, move to a baking soda simmer.
- Brown interior stains? Baking soda paste, then rinse and rewash.
- White cloudy film? Vinegar and water wipe, then dry.
- Greasy outside? Baking soda paste on the exterior, soft brush around handles.
- Black scuffs that do not lift? Pause before scrubbing harder. Aggressive abrasion can dull enamel permanently.
- Chips or cracks? Stop using that area for cooking if food can contact bare cast iron. Consider contacting Le Creuset for guidance.
Bottom Line
For Le Creuset, the safest formula is simple: cool first, soak often, and use baking soda to do the heavy lifting instead of hard scrubbing. If you clean gently but consistently, you can keep enamel bright, smooth, and beautiful for the long haul.
See also
If you are unsure which approach fits your stain, start with our stain-rescue decision tree, and for oily buildup on the exterior, follow this step-by-step grease removal guide.
- Non-toxic cleaning products that actually work for family messes
- Method all-purpose cleaner: my practical take after real use
- Scrub Daddy sponges review for non-scratch scrubbing
Frequently Asked Questions ▾
Can I use Bar Keepers Friend on Le Creuset enamel?
If your piece is enameled cast iron, I treat abrasive powders as a last resort. They can help with tough discoloration, but they can also dull the shine over time. Try baking soda methods first, and if you do use an abrasive cleaner, keep it light, brief, and gentle, then rinse extremely well.
Why is my Le Creuset cloudy after washing?
The most common cause is hard-water mineral film or leftover detergent residue. Try wiping with a 1:1 vinegar and water solution, then rinse and dry. If the cloudiness is from micro-scratches (often from abrasive pads), cleaning can improve it, but it may not fully return to a brand-new gloss.
How do I clean burnt-on food without scratching the enamel?
Soak first, then use a baking soda simmer. Those two steps soften the burnt layer so it releases with a non-scratch sponge. Avoid steel wool and do not scrape with metal tools.
Is it okay to soak a Le Creuset Dutch oven overnight?
A short soak is great, but overnight soaking is not my first choice, especially if the rim or edges have any exposed cast iron. If you need more time, do a 30-minute soak plus a baking soda simmer instead, then dry the rim thoroughly.
Can Le Creuset go in the dishwasher?
Many pieces are labeled dishwasher safe, but frequent dishwasher cycles can dull enamel and are harder on exposed edges and knobs. Hand washing is the gentlest option and usually takes just a few minutes if you soak promptly.
As an Amazon Associate, we earn from qualifying purchases made through links on our site.