
Shrinkage and frizz don’t have to win every wash day—especially when a 4C blowout is done with the right method and heat control. Get the stretch, shine, and smoother roots you want with tool-specific techniques that protect your coils while cutting down on breakage.
Learn the essential steps and tools to stretch coils, reduce frizz, and enhance shine with a smart blowout tailored for 4C hair textures.
Quick comparison: four ways to blow out 4C hair
| Method | Stretch level | Learning curve | Best for |
|---|---|---|---|
| Tension method (hold section taut, aim dryer) | High, smooth roots | Easy | Minimal manipulation, tender scalps |
| Comb attachment (on a dryer) | High | Easy–medium | Dense hair, fast sessions |
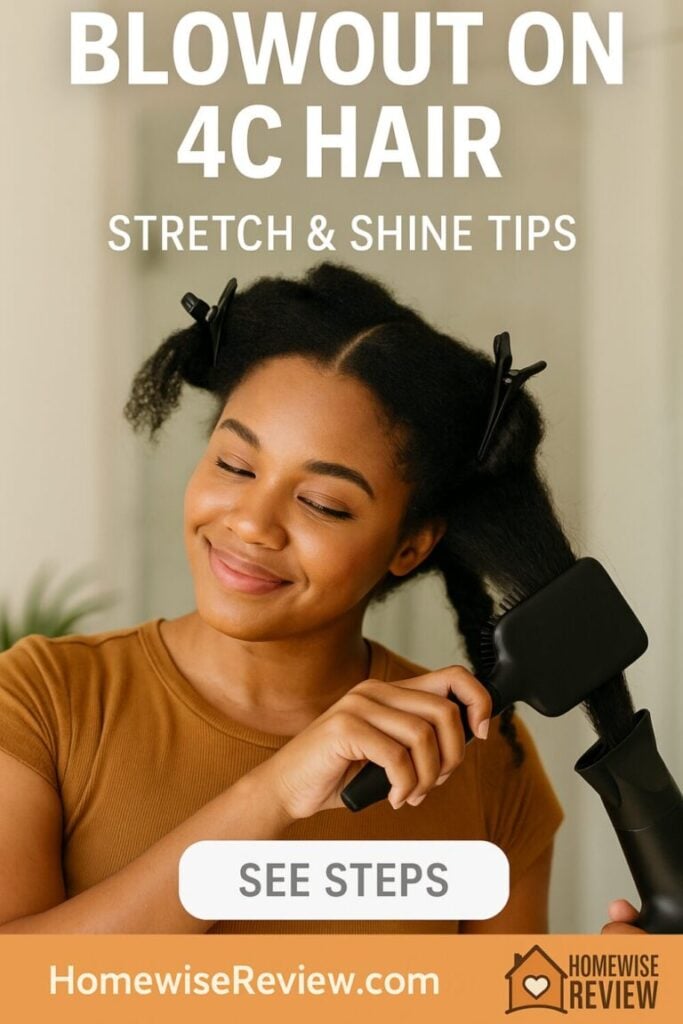
| Paddle brush + dryer | Medium–high with shine | Medium | Polished finish before a press |
| Round brush | Medium with curve at ends | Medium–hard | Blowout styles worn as is |
Ratings reflect a summary of owner feedback and stylist commentary.
Supplies checklist
- Section clips, spray bottle with warm water
- Clarifying or moisturizing shampoo, rich conditioner or mask
- Leave-in, light cream, and a heat protectant for damp hair
- Pre-iron or dry-stage heat shield if you will press later
- Paddle brush or comb attachment, wide-tooth comb
- Blow dryer with concentrator nozzle, cool shot button
- Light serum or oil for ends
Step by step: blowout routine for stretch and shine
1) Cleanse and condition for slip
- Clarify if you used gels or heavy oils last week. Otherwise use a moisturizing shampoo.
- Work in sections. Rinse well.
- Apply a rich conditioner or mask. Detangle from ends to roots, then twist each section.
2) Prime on damp hair
- Squeeze with a T-shirt until hair is damp.
- Apply a damp-stage heat protectant or blowout lotion from roots to ends. Comb through for even coverage.
- Optional: a pea of light cream on very dry ends.
3) Choose your method and set temperatures
- Set dryer to medium heat, high airflow.
- Aim for hair surface temps that feel warm, not hot. If you see steam or smell product, lower heat.
4) Blow out in small sections
- Tension method: hold the section taut and aim the nozzle from roots to ends. Keep the nozzle moving.
- Comb attachment: start at the ends, glide upward in short passes, then finish with a root pass.
- Paddle brush: brush under the section while aiming the nozzle down the hair shaft.
- Round brush: lift at the root, roll through the mid-lengths, and smooth the ends.
5) Lock in shine
- Hit each section with a cool shot to set alignment.
- Rub a drop of serum between palms and skim mid-lengths to ends only. Avoid roots.
6) If you plan to press later
- Let hair cool fully. Mist a dry-stage heat shield in tiny amounts on each section right before the iron.
- Most healthy natural hair smooths between 325–375°F when the blowout is solid. One slow pass beats three fast ones.
Deep dives: getting more from each method
Tension method
Why it works
Less friction, more control at the roots, and fewer snags for tender scalps.
Pro tip
Pre-stretch with two or three big twists before drying. Release one twist at a time and blow out immediately.
Comb attachment
Why it works
Teeth line up strands while airflow does the drying, which speeds things up on dense hair.
Pro tip
Use short strokes and a concentrator nozzle. If teeth catch, step down to a smaller subsection.
Paddle brush
Why it works
Large surface area smooths cuticles flat for gloss, perfect before a silk press.
Pro tip
Keep the nozzle pointing down the hair to avoid raised cuticles and frizz.
Round brush
Why it works
Creates curve and body so you can wear the blowout as is.
Pro tip
Work smaller sections and keep rotation slow. Finish with a cool shot to lock the bend.
Product map by need
| Situation | What to apply | Tool | Notes |
|---|---|---|---|
| Dry, frizz-prone | Damp-stage cream + heat protectant | Paddle brush | Thin layers for shine without weight |
| Dense, tight coils | Heat protectant only | Comb attachment | Small sections, steady passes |
| Planning a silk press | Blow-dry spray on damp hair, dry-stage mist later | Paddle brush | Aim for smooth and fully dry before the iron |
| Fine strands, low porosity | Light lotion or foam + protectant | Tension method | Keep layers thin to avoid puff at roots |
Porosity and density tweaks
- Low porosity: use warm water and thinner layers. Foam or a light lotion keeps roots airy.
- High porosity: richer cream on mid-lengths to ends, cool shot at the end, and a touch of serum to seal.
- High density: more sections and a concentrator nozzle help air reach the roots.
- Fine strands: less product, more distance between nozzle and hair, and lower heat.
Troubleshooting
- Puffy roots: sections were too big or the dryer missed the base. Target the first inch with tension and nozzle control.
- Dull finish: product build-up or rough cuticles. Clarify, then aim your nozzle down the shaft and add a cool shot.
- Snags: detangle better under conditioner and reduce section size.
- Frizz by day two: wrap at night in satin, or band four large sections for 20 minutes in the morning to reset.
Final Thoughts
A shiny 4C blowout is about prep and control, not max heat. Clean hair, thin and even product layers, the right protectant at the right stage, and small, well-tensioned sections will get you stretch and gloss without frying your ends. Finish with a cool shot and keep nighttime protection tight so you keep that smooth look longer.
See Also
If you plan to follow your blowout with a press, read At Home Silk Press on Natural Hair Without Damage for exact temps and pass counts that keep your curl pattern safe. For extra elongation before you even start, Stretching 4C Hair Without Heat: Banding Guide shows spacing and tension that make drying faster.
Detangling that does not snag makes every step easier. Check Best Brushes for 4C Hair Detangling and Stretching for tools that glide. A calm cleanse matters for shine, so try picks from Best Shampoos for 4C Hair That Do Not Strip or Sulfate Free Shampoos for Natural Hair That Actually Clean before your next blowout.
FAQs
How often can I blow out 4C hair
Space full blowouts a few weeks apart. Keep trims regular and moisture steady between sessions.
What temperature should I use
Use medium heat on the dryer. If you press afterward, many get smooth results at 325–375°F when the blowout is done well.
Do I need both a damp-stage and dry-stage protectant
If you will press, yes. Use a lotion or blow-dry spray on damp hair, then a fine mist right before the iron.
Why does my blowout feel greasy
Too much product or heavy oils under heat. Keep layers thin and focus serum on the last two inches only.
How do I keep the blowout overnight
Wrap in a satin scarf, or set two to four big, loose banded sections to hold stretch without creases.