
A soft, fast‑rebounding sponge that presses liquids and creams into a skin‑like finish while cutting product waste.
We may earn a small referral fee
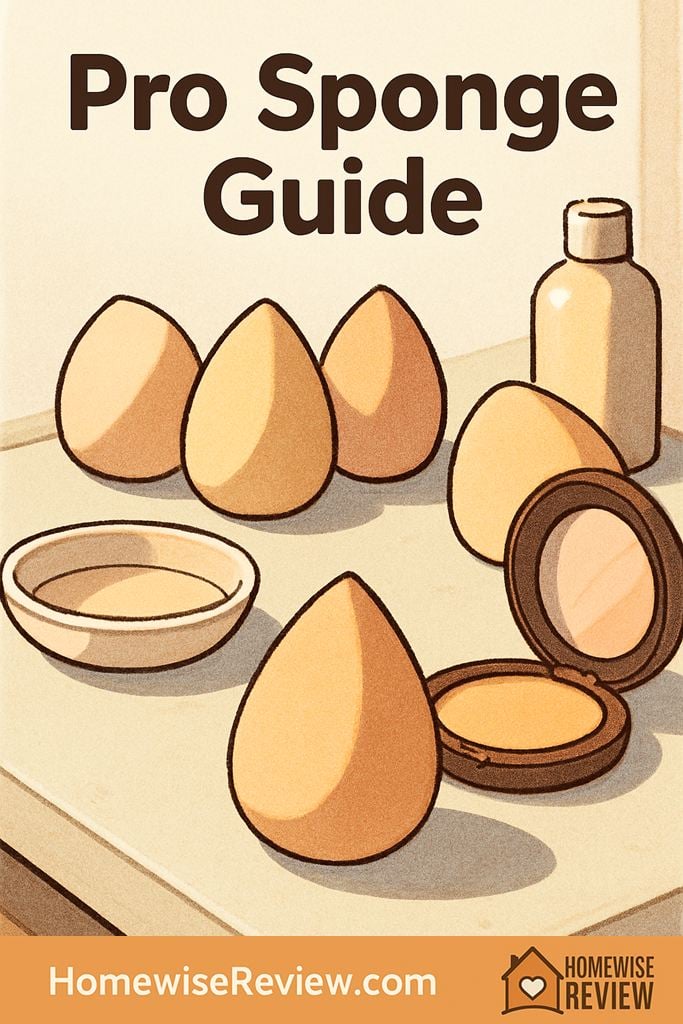
A makeup sponge can leave foundation looking polished and skin-like, or patchy and wasteful. The best professional beauty blender feels soft, rebounds quickly, and blends product evenly without drinking it up.
Not every makeup sponge is worth keeping in your kit. The best professional beauty blender should press foundation into the skin smoothly, soften edges without streaking, and stay consistent after repeated washing.
If you use liquid or cream makeup often, the sponge matters more than many people realize. A pro-level option helps with speed, finish, control around small areas, and product efficiency, especially when you prep it properly.
What counts as a professional beauty blender?
People often use “beauty blender” as a generic term for any makeup sponge, but professional-quality sponges share a few specific traits. They are usually latex-free, fine-pored, soft without feeling flimsy, and shaped to handle both broad blending and precise detail work.
The biggest difference between a basic sponge and a pro one is consistency. Cheap sponges may feel okay on the first use, then tear, get stiff, or create uneven texture. A better sponge keeps its bounce, expands evenly when damp, and gives a predictable finish every time.
| Feature | Why it matters | What to look for |
|---|---|---|
| Latex-free foam | Helps the sponge feel soft and flexible, and is often better tolerated by sensitive skin | Fine-pored, even texture with no strong chemical smell |
| Balanced density | Too soft can feel mushy, too firm can leave streaks | A sponge that compresses easily but springs back fast |
| Open-cell structure | Allows the sponge to expand when damp and blend product more naturally | Noticeable expansion after wetting, without becoming floppy |
| Rounded base plus pointed tip | Covers cheeks quickly and reaches around the nose, eyes, and mouth | Classic teardrop or angled precision shape |
| Easy cleaning | Builds hygiene into your routine and helps the sponge last longer | Foundation rinses out without heavy staining or crumbling |
Which type of professional beauty blender works best?
There is no single perfect sponge for every face, formula, and finish. The best choice depends on what you wear most often and how much precision you need.
Classic open-cell foam sponge
This is the standard most makeup artists still reach for first. It works especially well for liquid foundation, cream blush, tinted moisturizer, and softening over-applied makeup. If you want the most natural, skin-like finish, this is usually the safest place to start.
Dense precision sponge
A slightly firmer sponge can be helpful for fuller-coverage formulas or spot concealing. It gives more control and slightly stronger pressing power, which can help long-wear foundation settle in without moving around too much.
Mini sponge
Mini versions are useful around the inner corners, under-eyes, side of the nose, and over blemishes. They are not usually necessary as your only sponge, but they are very practical if you use concealer regularly or like detailed cream contour placement.
Microfiber-covered sponge
These are designed to reduce absorption and keep more product on the surface. They can work well with fuller coverage makeup, but they tend to lay down product more quickly, which means they are less forgiving if you prefer a sheer, diffused finish.
| Sponge type | Best for | Strengths | Trade-offs |
|---|---|---|---|
| Classic soft foam | Everyday foundation and cream products | Natural finish, flexible, easy to learn | Can absorb more product if used incorrectly |
| Dense precision sponge | Full coverage and long-wear makeup | More control, better spot blending | May feel less airy on very dry skin |
| Mini sponge | Concealer and detail work | Reaches tight areas cleanly | Too small for full-face blending |
| Microfiber sponge | Higher coverage with less sheer-out | Can reduce product absorption | Less soft-focus, easier to overapply |
How to choose the best one for your routine
The right sponge is not just about price. It is about how the material, shape, and density match your products and the finish you want.
If you want a natural, skin-like base
Choose a medium-soft foam sponge with a rounded base. Used damp, it will sheer out foundation just enough to avoid a heavy look while still blending edges beautifully along the jawline and hairline.
If you wear full-coverage or long-wear foundation
Look for a sponge with slightly more structure. A very airy sponge can over-diffuse high-coverage makeup and make you use more product to rebuild coverage. A medium-density sponge keeps more pigment where you place it.
If your skin is dry or textured
A softer sponge is usually kinder than a brush for flaky spots. Pressing with a damp sponge can help foundation sit down over texture instead of catching on it, especially around the nose and between the brows.
If you mainly use concealer, cream blush, or contour
Prioritize shape over hype. A pointed tip or angled edge gives cleaner placement under the eyes and around the nose, while a rounded side blends cheeks quickly without lifting too much pigment.
If hygiene and durability matter most
Pay attention to how the sponge rinses clean and how quickly it air-dries. A professional sponge should not stay soggy for hours in the center, and it should not start splitting after a few washes.
- Choose medium softness if you want one sponge for most products.
- Choose firmer density if you prefer fuller coverage.
- Choose a pointed tip if you do a lot of concealer work.
- Choose easy-to-clean foam if you wear makeup daily.
- Choose multi-pack value only if the texture is still consistent from sponge to sponge.
How to use a professional beauty blender like a makeup artist
Even the best sponge performs poorly if it is too wet, too dry, or used with the wrong motion. Technique changes the result just as much as the sponge itself.
- Wet it fully. Run the sponge under water until it expands all the way through.
- Squeeze out excess water. It should feel damp, not dripping. If needed, press it into a clean towel once or twice.
- Apply product to the skin or back of your hand. This gives you more control than pouring foundation directly onto the sponge.
- Bounce, do not drag. Pressing and lifting creates the smoothest finish and helps avoid streaks.
- Use the rounded side first. Blend cheeks, forehead, and chin before moving to detailed areas.
- Switch to the tip for precision. Use it around the nose, under the eyes, and along the mouth.
- Roll edges together. If blush, bronzer, and foundation meet, a clean side of the sponge can soften transitions in seconds.
A small practical tip: if your makeup starts looking heavy, do one final pass with the clean damp sponge and no extra product. It works almost like an eraser for buildup and often makes the whole base look more polished.
Cleaning and replacement rules
A professional sponge only stays professional-looking if it stays clean. Old makeup trapped inside the foam affects performance, shortens the life of the sponge, and can make fresh makeup look uneven.
How often to clean it
- After every use: Best if you wear makeup daily or have breakout-prone skin.
- At minimum: Rinse it the same day and do a deeper wash every few uses.
- Before storing: Let it dry in open air, never sealed in a damp bag.
When to replace it
Replace your sponge when it starts tearing, stays stained no matter how well you wash it, smells off, loses bounce, or feels rough on the skin. For frequent use, many people do best replacing it every 1 to 3 months. If you rotate several sponges and clean them well, you may get a bit longer life, but once the texture changes, the finish usually does too.
Common mistakes that ruin even a good sponge
Sometimes the sponge gets blamed for issues caused by technique. A few small mistakes can make an excellent sponge seem average.
Using it soaking wet
If water is still dripping out, the sponge will dilute product and make foundation slide. Damp is correct. Wet enough to expand, dry enough to stay springy.
Using it bone dry
A dry sponge absorbs more makeup and can leave patchiness. This is the fastest way to waste foundation and end up with a heavier-looking base.
Swiping instead of bouncing
Dragging moves product around and creates lines. A bouncing motion presses makeup in and keeps coverage where you intended it.
Waiting too long to clean it
Old product buildup changes the foam surface. Once that happens, the sponge stops giving a smooth blend, even if the original material was excellent.
Is an expensive beauty blender worth it?
Sometimes yes, but not always. Premium sponges often have more refined foam texture, more reliable softness, better rebound, and longer-lasting shape. If you wear makeup often, do event makeup, or are picky about finish, the upgrade can be noticeable.
That said, a lower-priced sponge can still be a smart buy if it checks the fundamentals: latex-free feel, even pore texture, balanced density, and good shape. The best value is not the cheapest sponge on the shelf. It is the one that blends well, cleans well, and keeps performing for more than a handful of uses.
💡 Editor’s Final Thoughts
The best professional beauty blender is usually a latex-free, medium-soft, quick-rebound sponge with a rounded base and pointed tip. If it expands evenly when damp, blends without streaking, and cleans up without falling apart, it is doing the job you need.
For most people, a classic soft foam sponge is the most versatile choice. If you wear fuller coverage or need more precision, move slightly firmer or add a mini sponge for detail work.
See also
If you are building out a more polished beauty routine, take a look at the best professional flat irons for salon-level styling at home.
- Stylist-approved professional curling irons
- Best hair brush choices for thick hair
- Blonde hair dye options for brighter color
- Henna hair dye picks for a plant-based color route
Frequently Asked Questions ▾
What is the difference between a professional beauty blender and a regular makeup sponge?
A professional sponge usually has better foam quality, more even density, and a more reliable shape. That means smoother blending, less dragging, and better durability after washing.
Should you use a beauty blender wet or dry?
For most liquid and cream products, damp is best. Wetting the sponge helps it expand, reduces product absorption, and gives a more natural finish. Dry use is usually reserved for a few very specific high-coverage techniques.
Can one sponge handle foundation, concealer, and cream blush?
Yes, if the shape is versatile. A rounded base works well for foundation and blush, while the pointed tip handles concealer and small areas. Many people only need one full-size sponge plus a mini if they like extra precision.
How often should you replace a makeup sponge?
If you use it often, replacing it every 1 to 3 months is a practical rule. Replace sooner if it tears, loses bounce, stays dirty after washing, or starts affecting the finish of your makeup.
As an Amazon Associate, we earn from qualifying purchases made through links on our site.