
Powerful, affordable pitcher that blitzes frozen fruit and greens into drinkable smoothies — add liquid first, frozen fruit last for best results.
We may earn a small referral fee
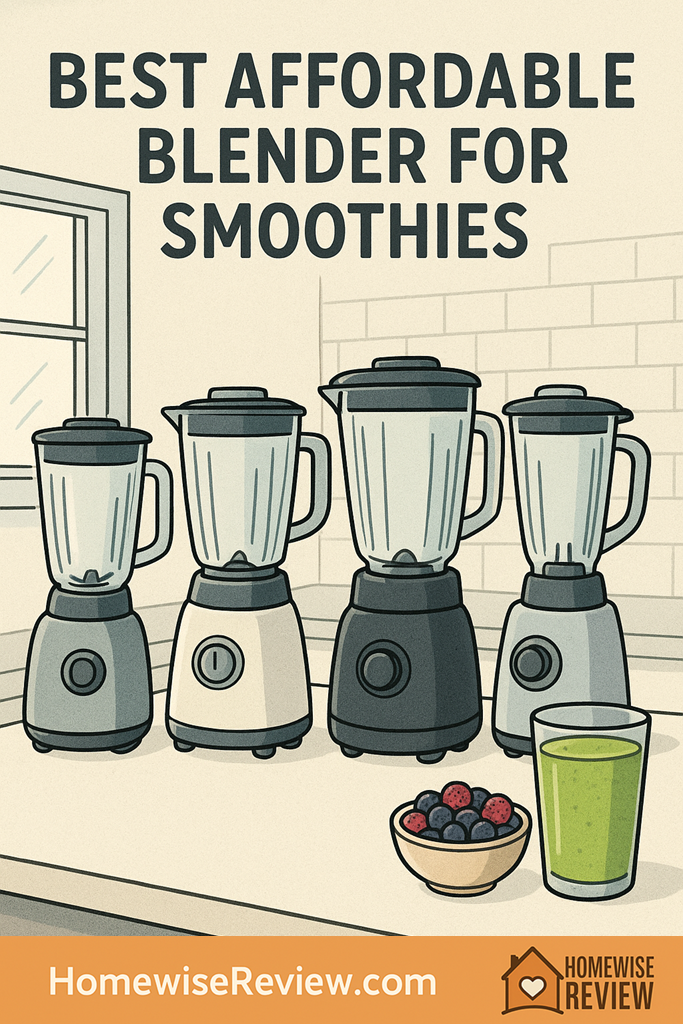
You want smooth, drinkable smoothies without spending high-end blender money or dealing with chunks of ice and gritty greens. These affordable blenders are the ones that consistently deliver the texture most people are after, with the least hassle.
✨ 2026 Spotlight
2026 Spotlight: Shoppers looking beyond the core picks are also paying attention to the Ninja Blast Max for quick single-serve smoothies and the Beautiful by Drew Barrymore 10-Speed Blender as a budget-friendly full-size option with fresh countertop appeal. If frozen fruit is your main test, newer affordable models still tend to perform best when you keep the same loading order: liquid first, softer ingredients in the middle, and ice or frozen fruit on top. The classics below remain relevant, but these newer names are worth a look this year if you want a current alternative.
In-depth Reviews
Ninja Professional Blender (BL610)
- Crushes ice and frozen fruit reliably for smooth, drinkable texture
- Big-batch blending without needing constant stirring
- Good versatility for smoothies, salsas, and sauces
- Noisy in use
- Needs extra liquid for very thick smoothie bowls
NutriBullet Pro 900
- Very smooth results for single servings
- Fast setup and minimal cleanup
- Compact footprint for small kitchens
- Not ideal for multiple servings at once
- Thick blends can require stopping to shake and redistribute
Oster Pro 1200 Blender with Glass Jar
- Strong performance on ice-heavy smoothies and frozen drinks
- Glass jar resists odors and discoloration
- Easy controls that work well for consistent results
- Heavier to move and store than plastic pitchers
- Thick blends may need pauses to keep ingredients circulating
Ninja Fit Personal Blender (QB3001SS)
- Good results for basic smoothies and shakes at a low cost
- Pulse control helps prevent stalling and over-blending
- Easy to rinse and store
- Less consistent on tough greens and hard frozen chunks
- Small capacity limits batch size
Hamilton Beach Power Elite Blender (58148)
- Solid performance for light, occasional smoothie use
- Simple controls that are easy to learn
- Good value without feeling flimsy
- Ice and thick blends can require stopping to stir
- Texture may be less silky with fibrous add-ins
Buying Guide
Make a Budget Blender Blend Like a More Expensive One
Use the right loading order. Liquid goes in first, then fresh greens, then soft ingredients (banana, yogurt), and frozen fruit last. That simple change helps affordable blenders form a vortex so ingredients get pulled into the blades instead of riding the walls. If you dump frozen fruit in first, you are more likely to get air pockets and stalling.
Give frozen ingredients a head start. Let frozen fruit sit on the counter for a few minutes while you prep everything else, or use smaller pieces (frozen slices blend easier than big frozen chunks). For thick smoothies, start with short pulses to break up the mass, then blend longer once things are moving. If the blender bogs down, stop the motor, scrape the sides, and add a small splash of liquid rather than forcing it.
Fix texture problems with simple tweaks. For grainy smoothies, blend greens with liquid first, then add the rest. For foamy smoothies, use a lower speed to start and avoid over-blending once everything is smooth. And for quick cleanup, rinse immediately, then blend warm water with a tiny drop of soap and rinse again, which keeps odors and sticky residue from building up around lids and blade bases.
💡 Editor’s Final Thoughts
Final Verdict: If you want the most consistently smooth results for the money, the Ninja Professional Blender (BL610) is the best all-around affordable choice for smoothies because it handles frozen fruit and ice well in real-life batches. If you mostly make single servings and want the quickest cleanup, go with the NutriBullet Pro 900.
See also
If you’re choosing a blender that you’ll actually keep out and use, start with kitchen gadgets that earn counter space and round out your setup with the best kitchen tools every home cook uses.
- Home juicers vs. blenders: what to buy for green drinks, citrus, and smoothies
- Kitchen accessories that make everyday cooking easier (and less messy)
- Kitchen scales for consistent recipes, meal prep, and smoothie add-ins
Frequently Asked Questions ▾
How much power do I need for smoothies with frozen fruit and ice?
For most smoothie routines, look for a blender in the general range of about 700 to 1000 watts (or higher) if frozen fruit and ice are regular ingredients. Below that, many blenders can still work, but you’ll usually need more liquid, more pulsing, and more stopping to stir. Also remember that blade design and jar shape matter almost as much as wattage, since a good vortex pulls ingredients into the blades instead of letting frozen chunks ride the walls.
Can an affordable blender make smoothie bowls (very thick blends)?
Yes, but thick smoothie bowls are the hardest test for a budget blender. The two keys are friction control and ingredient movement: thick blends tend to stall because there isn’t enough liquid to help ingredients circulate. If you want bowl-thick results, choose a blender with strong ice-crushing performance and be willing to use short bursts, stop to scrape, and add a small splash of liquid as needed. A single-serve cup blender can do bowls surprisingly well, but you still need to pause and shake the cup with the motor off to keep things moving.
Why do my smoothies turn out gritty when I add spinach or kale?
Grit usually comes from under-blending fibrous greens or from packing the jar in a way that prevents the greens from hitting the blades early. Try this order: pour in liquid first, add fresh greens next, then soft ingredients (yogurt, banana), and frozen fruit last. Start on low or pulse until the greens are fully broken down into the liquid, then increase speed to finish. If you want the smoothest texture, use baby spinach instead of mature greens, remove tough kale stems, and blend greens with liquid first before adding frozen ingredients.
Is a personal blender or a full-size blender better for smoothies?
A personal blender is usually better for one person who wants fast cleanup and consistent single servings. You blend right in the cup, so there’s less to wash and fewer parts to store, and the smaller container can create stronger circulation with small batches. A full-size blender is better if you routinely make smoothies for two or more people, use a lot of ice, or want a single pitcher for smoothies plus sauces and soups. If you often make just one smoothie but occasionally need a big batch, pick the style you will use most days, not the style you might use once a month.
What’s the easiest way to clean a blender so it doesn’t smell?
Rinse immediately after pouring, even if you cannot do a full wash yet. Then add warm water and a tiny drop of dish soap, blend briefly, and rinse again. For lingering odors (often from protein powder, nut butter, or greens), soak the jar or cups with warm soapy water and a splash of vinegar, then rinse thoroughly. Also check the lid gasket and the blade base area for trapped residue, since that’s where smells usually hang on.
As an Amazon Associate, we earn from qualifying purchases made through links on our site.