
Dot and tap instead of swiping—builds from sheer to full coverage without looking cakey.
We may earn a small referral fee
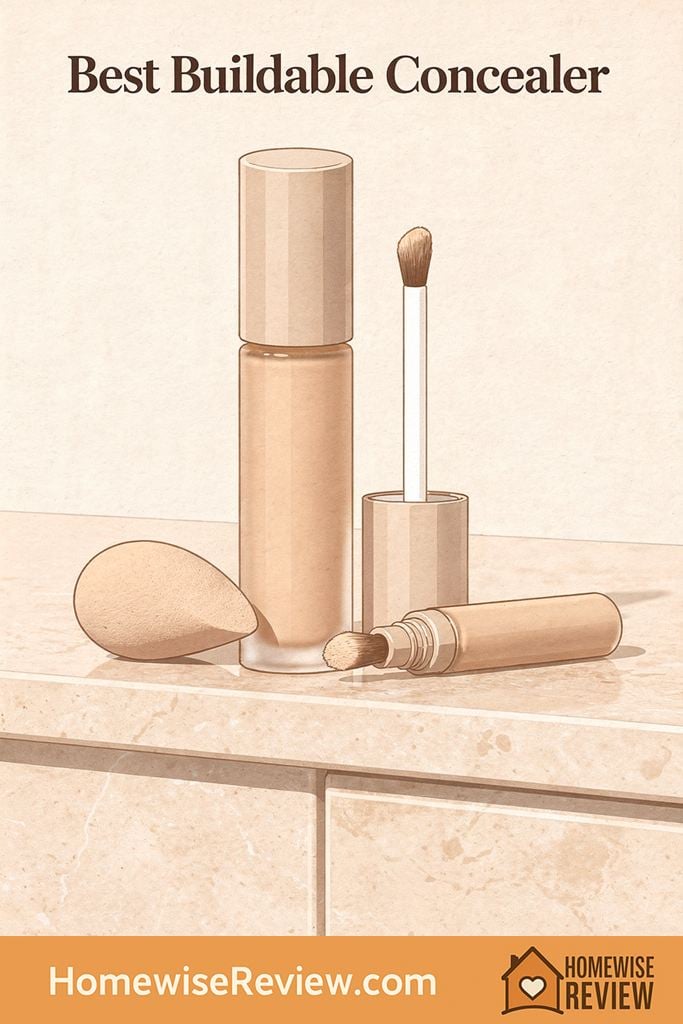
The best buildable concealer gives you control: sheer where you want skin to show through, fuller where you need real coverage. These top picks layer smoothly, blend fast, and stay flattering up close.
In-depth Reviews
NARS Radiant Creamy Concealer
- Layers without getting thick or patchy
- Smooth, flattering finish for under eyes
- Easy to blend with fingers, sponge, or brush
- Not the most budge-proof option on very oily skin
- Coverage tops out at medium-full, not max-coverage
Kosas Revealer Concealer
- Very natural finish that still covers
- Builds in thin layers without caking
- Comfortable for under eyes
- Can look shiny on oily areas if you do not set
- Not ideal if you want a matte spot-conceal finish
Tarte Shape Tape Concealer
- Strong coverage with good staying power
- Great for blemishes and discoloration
- Can be sheered out for a cleaner look
- Can feel dry or look heavy if over-applied
- Needs careful blending time before it sets
Maybelline Fit Me Concealer
- Affordable and consistently blendable
- Natural finish that suits everyday wear
- Easy to layer for more coverage
- Not as long-wearing as higher-end options
- May need extra help for very dark discoloration
Dior Forever Skin Correct Concealer
- Comfortable, flexible wear for dry areas
- Builds smoothly without looking powdery
- Polished finish that stays flattering
- Higher price point
- Can need light setting on oily areas
Buying Guide
Pro Technique: The “Tap, Rest, Tap” Method for Truly Buildable Coverage
Step one, place, do not swipe. Put concealer exactly where you need it (inner corner, deepest shadow, or the center of a blemish), then tap with a fingertip or sponge. Swiping spreads product into areas that do not need it, which is how buildable concealer turns into a thick layer. Tapping keeps pigment concentrated and the edges soft, so your base still looks like skin.
Step two, let it settle before you decide you need more. Many concealers look lighter and thinner right after application, then “set” into their true coverage as the warmth of your skin and your skincare underneath balance out. Give it a brief moment, then check in natural light. If you still see darkness or redness, add a second micro-layer only on the spot that needs it, not over the entire blended area.
Step three, set only where movement happens. Under eyes, press a tiny amount of fine powder right into the crease zone (usually the inner half) with a small puff or the edge of a sponge, then leave the outer area less set for a smoother look. On blemishes, a light press of powder over the center can extend wear without making the surrounding skin look dry. This targeted approach keeps your concealer looking buildable and fresh, not flat and overdone.
💡 Editor’s Final Thoughts
Final Verdict: If you want the safest all-around bet, NARS Radiant Creamy Concealer is the top pick because it layers beautifully from light to medium-full coverage without getting heavy. For maximum coverage that still blends out cleanly, Tarte Shape Tape is the one to reach for when you need your concealer to do the most.
See also
If under-eye creasing is your main issue, start with how to conceal dark circles without creasing, and if you run dry, pair that with our best concealers for dry skin roundup.
- Top concealers that actually cover blemishes
- Gentle concealer picks for sensitive skin
- Clean concealer options worth buying
Frequently Asked Questions ▾
What makes a concealer “buildable” instead of just full coverage?
A truly buildable concealer has enough pigment to cover, but it stays flexible and blendable as you layer. The first swipe can be sheered out without disappearing, and the second layer sits on top without grabbing, pilling, or turning patchy. Look for formulas that blend easily with fingers or a sponge and do not set down instantly, since fast-drying products often skip straight from sheer to heavy.
How do I layer concealer without it getting cakey?
Start with less product than you think you need, then add coverage only where it is still showing through. Let the first layer settle for a moment, then tap a second thin layer just on the darkest area or the center of a blemish. Keep your base underneath smooth and not too slick, and set strategically: a light press of powder in crease-prone spots, leaving the rest of the face more natural.
Is a brush, sponge, or fingers best for buildable coverage?
It depends on the finish you want. Fingers are great for melting a thin layer into the skin quickly, especially for minimal makeup days. A damp sponge gives the most forgiving, skin-like blend and helps prevent over-application, making it ideal for under eyes. A small dense brush gives the most coverage and precision for spot concealing, but it can leave too much product if you do not tap out the edges.
Should I choose a lighter shade for under eyes if I want it to look natural?
For a natural result, go only slightly lighter than your skin tone, or match your foundation shade and use a corrector underneath if needed. Going too light often looks gray or emphasized, and it can make fine lines more noticeable once you set. If you want brightness, keep it controlled: concentrate a lighter shade at the inner corner and the deepest shadow, then blend outward so the transition stays seamless.
Do I need to set buildable concealer with powder?
Not always, but it helps in the places that crease or transfer. Under the eyes, a very small amount of finely milled powder pressed in (not dusted on) can keep concealer from sliding. On blemishes, setting can lock coverage in place so it lasts through the day. If you have dry skin, set only the areas that move, and let the rest stay unpowdered to keep the finish fresh.
As an Amazon Associate, we earn from qualifying purchases made through links on our site.