
I attacked the dark grout line by the stove with a stiff brush and an all-purpose spray, and all I got was a bigger gray smear and a tile that looked slightly dull. After I stopped scrubbing like I was sanding a deck, the fix was almost boring: vacuum first, let dish soap sit long enough to break the oil up, then rinse well and repeat in small sections. The biggest difference was giving the cleaner time to work instead of trying to muscle the grease out.
Grease in tile grout is a different beast than a normal spill: it soaks into porous grout, clings to dust, and slowly turns into a sticky, dark film. The good news is you can usually remove it without harsh chemicals, as long as you use the right cleaner for the right grout and give it enough dwell time.
Start gentle, work in small sections, and rinse well. The goal is to dissolve and lift the grease, not grind it deeper with abrasive scrubbing.
Why grease stains grout (and why wiping often fails)
Grout is porous unless it has been sealed well and recently. When cooking oils splatter or greasy hands touch the floor, the oil seeps into tiny pores and binds to any dirt sitting there.
Water alone cannot break down oil, so a damp mop often just spreads the film. You need a surfactant (like dish soap) or a degreaser to emulsify the grease so it can be rinsed away.
Before you start: identify your grout and tile
This matters because some cleaners that are fine for ceramic can etch stone or weaken certain grout sealers. If you are unsure, choose the gentlest option first and test in an inconspicuous spot.
Quick ID guide
- Ceramic or porcelain tile: Usually safe with most household degreasers, baking soda paste, and carefully used steam.
- Natural stone (marble, travertine, limestone): Avoid vinegar and acidic cleaners. Stick to pH-neutral cleaners and gentle methods.
- Cement-based grout (most common): Porous, benefits from sealing, responds well to alkaline cleaners and degreasers.
- Epoxy grout: Less porous and more stain-resistant, but grease can still sit on the surface. Often cleans up with dish soap or a mild degreaser and less scrubbing.
Safety and prep (takes 3 minutes, saves rework)
- Ventilate the area, especially if using a stronger degreaser.
- Sweep or vacuum first so you are not turning crumbs into mud.
- Protect nearby baseboards or painted cabinets with a towel if you tend to splash.
- Test any new product on a hidden grout line and wait 10 minutes to check for lightening or haze.
Tools and supplies that make this easier
You can absolutely do this with basics. The key is using a brush that fits the grout line and changing rinse water often so you are not re-depositing grease.
Simple supply checklist
- Warm water
- Dish soap (a grease-cutting formula)
- Baking soda (optional but helpful)
- Spray bottle or small bowl
- Grout brush or an old toothbrush (firm bristles)
- Microfiber cloths or paper towels
- Small bucket for rinse water
- Rubber gloves
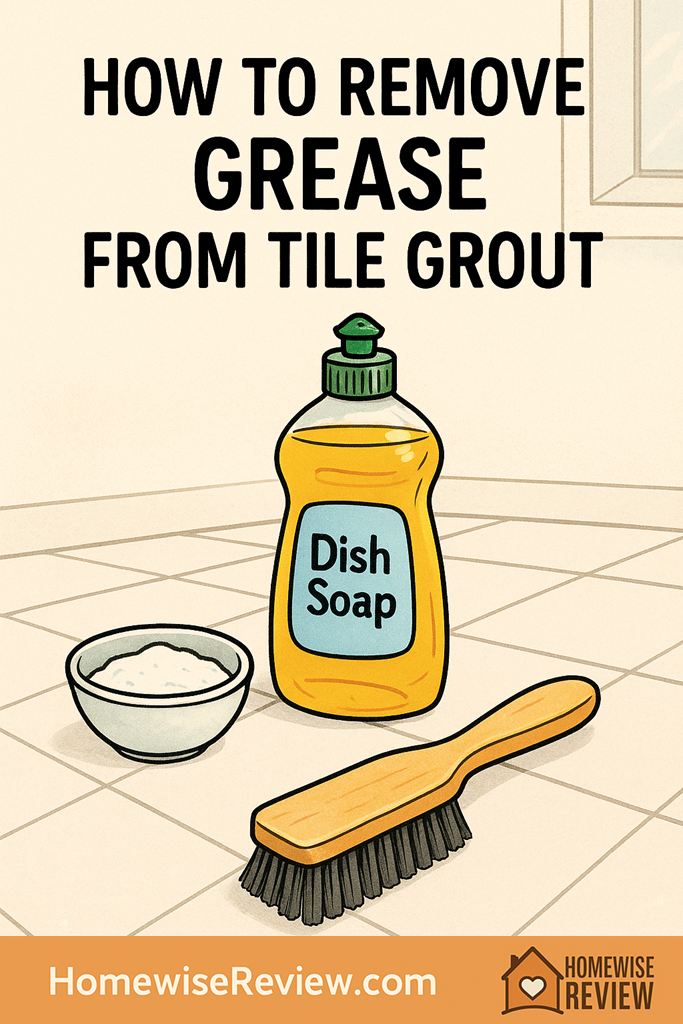
Best method first: dish soap + baking soda paste (safe, effective, budget-friendly)
This is my go-to for kitchen grout because it is gentle on most tile and surprisingly effective on oily residue. Dish soap breaks the grease; baking soda provides light abrasion and helps keep the cleaner sitting on vertical or narrow lines.
Step-by-step (work in 10 to 15 square feet)
- Make a paste: Mix 3 parts baking soda with 1 part dish soap. Add a teaspoon of water only if you need it to spread.
- Apply: Press the paste into the grout lines with your finger (gloved) or a spoon.
- Dwell: Let it sit 10 to 15 minutes. Grease needs time to soften.
- Agitate: Scrub grout lines with a grout brush using small back-and-forth strokes for 30 to 60 seconds per 2 to 3 feet of grout.
- Lift: Wipe the slurry up with a damp microfiber cloth before it dries.
- Rinse well: Wipe again with clean water, or lightly mop the section with fresh rinse water.
- Dry: Buff dry with a towel so you can see the true result (wet grout looks darker).
When to repeat
- If the grout lightens but still looks dingy once dry, repeat once more before jumping to harsher options.
- If you see shiny residue on the tile surface, you likely need more rinsing, not more scrubbing.
Options compared: which grease-removal approach fits your situation?
| Method | Best for | Pros | Watch-outs |
|---|---|---|---|
| Dish soap + baking soda paste | Most kitchen grease, routine buildup | Gentle, low-cost, widely safe | May need 2 rounds for old grease |
| Alkaline degreaser (tile-safe) | Heavy, sticky, older grease | Fast breakdown, less scrubbing | Can dull some finishes if overused; rinse thoroughly |
| Steam cleaning | Grime in textured tile and grout lines | Low chemical use; great for crevices | Can weaken failing grout or sealer; keep moving, avoid soaking |
| Oxygen bleach (powder, not chlorine) | Grease plus dingy discoloration | Brightens grout; effective dwell action | Needs thorough rinse; test on colored grout |
When dish soap is not enough: step up to a degreaser (carefully)
If the grout is near the stove, trash can, or a busy walkway, you may be dealing with layered grease that needs a stronger surfactant system. Look for a cleaner labeled for kitchens or degreasing, and avoid anything that warns against use on tile or grout.
How to use a degreaser on grout without leaving residue
- Dilute if recommended: Many concentrates work better when diluted correctly and are easier to rinse.
- Apply to grout, not the whole floor: Spray onto a cloth or directly onto lines, then spread with the brush.
- Dwell: 3 to 5 minutes is usually enough. Do not let it dry on the surface.
- Scrub lightly: Short strokes along the grout line.
- Rinse twice: First pass lifts the grease, second pass removes cleaner film that can attract dirt later.
A quick reality check
If the grout looks great while wet but dark again when dry, that is often remaining oil, not “staining.” Focus on more dwell time and better rinse water rotation, not harder brushing.
Can you use vinegar on greasy grout?
Vinegar is great for mineral deposits, but grease is not a mineral problem. Vinegar does not dissolve oil well, and it can be risky on natural stone and can degrade some grout over time with repeated use.
If you still want to try it (only on ceramic or porcelain)
- Use it for soap scum or hard water haze, not as your main grease remover.
- Never use vinegar on marble, limestone, or travertine.
- Do not mix vinegar with bleach or products that contain bleach.
Steam cleaning greasy grout: helpful, but use it like a pro
Steam can be a wonderful “finish pass” after you have already broken up grease with dish soap or a degreaser. It blasts grime out of tiny pits and texture without extra chemicals.
Steam tips that protect grout
- Keep the nozzle moving: Avoid parking steam on one line too long.
- Use a towel behind the brush head: Catch loosened grime as you go so it does not resettle.
- Let the floor dry fully: Especially important if you plan to seal afterward.
What if the grout is still dark: grease vs permanent staining
Some grout is truly stained, especially if it has never been sealed and grease has had months or years to oxidize. Before you assume it is permanent, do this simple check.
The “dry test” (2 steps)
- Clean a small section and rinse well.
- Dry it completely with a towel and wait 30 minutes. If it is significantly lighter when fully dry, you are still chasing residue and embedded oil, not a permanent stain.
If it is stained
- Try an oxygen bleach paste (follow package directions) for a controlled brightening step.
- Consider a grout colorant pen or grout refresh product for cosmetic restoration, especially in older kitchens.
- If grout is cracked or crumbling, cleaning will not fix that. Regrouting or repair is the more lasting solution.
How to clean grease from grout without whitening or damaging it
The biggest “oops” I see is using something too harsh too often, then wondering why grout turns patchy. Most grout lines do best with repeated gentle cleaning, not one aggressive scrubbing marathon.
Rules that prevent damage
- Avoid metal brushes: They can scratch tile and shred grout.
- Skip chlorine bleach for grease: It can lighten grout but does not reliably remove oil, and it can weaken grout over time with repeated use.
- Do not let cleaners dry on tile: Residue can create a hazy film that attracts dirt.
- Use fresh rinse water: Cloudy rinse water is basically diluted grease.
Aftercare: sealing grout so grease does not sink in next time
Once grout is clean and fully dry, sealing is the step that makes future cleanup easier. Sealers do not make grout “bulletproof,” but they slow absorption so grease stays closer to the surface.
Sealing basics
- Wait until grout is dry: Typically 24 to 48 hours after deep cleaning, depending on humidity.
- Choose the right sealer: A penetrating sealer is most common for kitchens; follow label directions for cure time.
- Wipe excess off tile: Dried sealer haze is frustrating to remove.
Prevention: keep kitchen grout from getting greasy again
You do not need perfection here, just a few small habits that keep oil from building up.
- Do a quick weekly “degunk pass”: A drop of dish soap in warm water, wipe high-traffic grout lines, rinse once.
- Use a washable runner near the stove: It catches splatter before it reaches grout.
- Address spills immediately: Fresh oil lifts easily; old oil turns sticky.
- Use a microfiber mop head: It grabs film better than sponge mops that can smear.
Worth Knowing Before You Buy
If your kitchen floor still feels slick after mopping, grease is the problem, not dirt. Water and a damp mop just push oily film around, and a stiff brush can grind grime into porous grout and scratch the tile finish. The right approach is slower: vacuum first, use dish soap or a degreaser, let it sit, then rinse in small sections.
Bottom Line
For most homes, grease in grout comes up best with a dish-soap-and-baking-soda paste, plenty of dwell time, and thorough rinsing. If that does not get you there, step up to a tile-safe degreaser or a careful steam pass, then seal clean, dry grout to make the next cleanup much easier.
See also
If you want a broader walkthrough for greasy messes beyond grout lines, start with How to remove grease: a practical step-by-step guide and keep our stain-rescue decision tree handy for choosing the right method quickly.
- Dupray Neat steam cleaner review for grout and tile
- Method all-purpose cleaner review (everyday cleaning expectations)
- Scrub Daddy sponges review for scrubbing without scratching
Frequently Asked Questions ▾
How long should I let a grout cleaner sit before scrubbing?
For grease, dwell time matters. Start with 10 to 15 minutes for a baking-soda-and-dish-soap paste, or 3 to 5 minutes for most degreasers (unless the label says otherwise). Do not let the cleaner dry on the surface.
Will a Magic Eraser remove grease from grout?
It can help with surface grime, but it is more of a micro-abrasive than a true degreaser. If the problem is oily buildup inside porous grout, you will usually get better results by dissolving the grease first with dish soap or a degreaser, then using light agitation.
Is bleach safe for cleaning greasy grout?
Chlorine bleach can whiten grout, but it does not reliably dissolve oil, and repeated use can weaken grout and irritate lungs. If you need brightening, consider an oxygen bleach product and always rinse thoroughly.
Why does my grout look clean when wet but dirty again when it dries?
That usually points to remaining oil or cleaner residue. Focus on longer dwell time, smaller sections, and a second rinse with fresh water. Dry the area with a towel to check true color before you decide you need a stronger product.
Do I need to reseal grout after deep cleaning?
If you have cement-based grout and you have not sealed in a while, resealing is a smart next step once everything is fully dry. It helps slow future grease absorption so routine cleaning stays simple.
As an Amazon Associate, we earn from qualifying purchases made through links on our site.